Layers of the Earth Project for Kids
Fun Hands on Activities
Understand Earth's Layers with Exciting DIY Projects
Main Idea
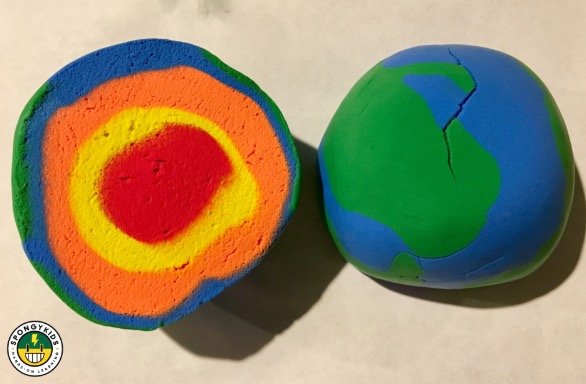
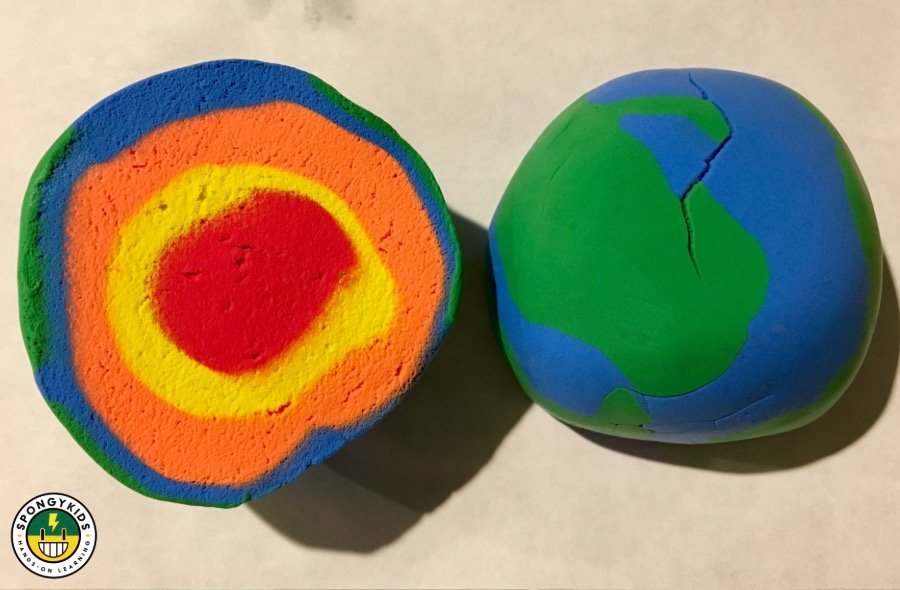
How to create a model of the Earth's layers using Play-Doh. This activity helps kids understand the layers of the Earth, and it was exciting when we cut the model in half!
Activity Prep
(What we used)
Blue and green Play-Doh for the "Crust"
Orange Play-Doh for the "Mantle"
Yellow Play-Doh for the "Outer Core"
Red Play-Doh for the "Inner Core"
Sewing thread
**Feel free to change the colors if you'd like.
How We Played
Step 1. Inner Core
First, we created the "Inner Core" using a small ball of red Play-Doh.
Step 2. Outer Core
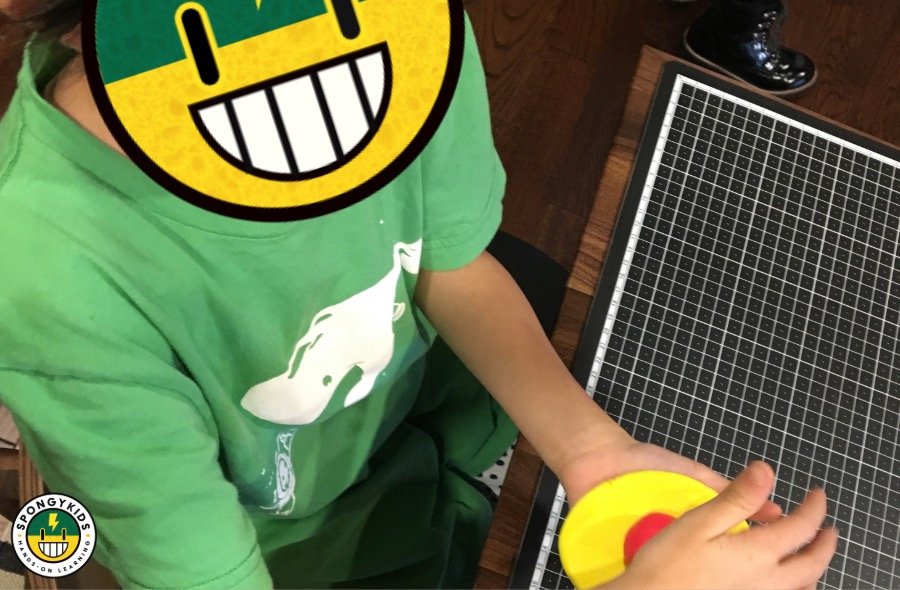
Second, we wrapped it with yellow Play-Doh to represent the "Outer Core."
Step 3. Mantle
Third, we wrapped it again with orange Play-Doh to represent the "Mantle."
Step 4. Crust
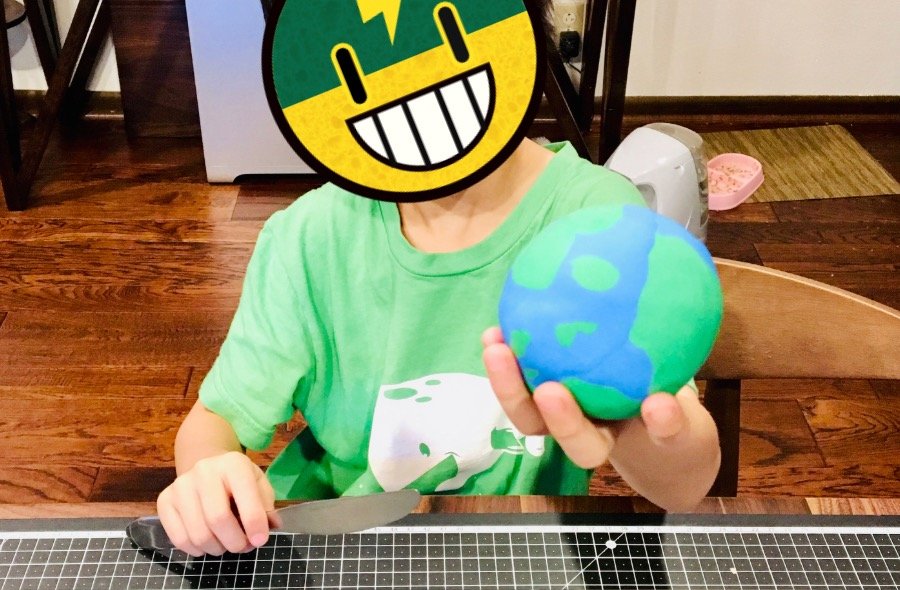
Finally, we created the "Crust" by first wrapping it with blue Play-Doh to symbolize the ocean, and then adding green Play-Doh as landmasses.
Step 5. Cutting
**DO NOT USE A BUTTER KNIFE! It was a big mistake. We tried using a butter knife, and it completely squashed the shape! Oh no!
On our second attempt, we used a piece of sewing thread to slice it, similar to the method used by an egg slicer. The key is to slice it in half very slowly and without applying too much pressure.
We let it sit for a couple of days, and it dried nicely.
The Earth model turned out really well, and it was an exciting moment when we cut it in half! This activity is a fantastic STEAM project for the kids. It helped them visualize the Earth's layers and understand how these layers interact.
Disclaimer
Play-Doh® is a registered trademark of Hasbro, Inc. This project is not affiliated with or endorsed by Hasbro, Inc., and the use of Play-Doh® is solely for educational purposes.


