Salt Water Evaporation Experiment
Fun Hands on Activities with Kids
Discover How Salt Remains After Water Evaporates!
Main Idea
Have you ever tried to separate salt from water? This saltwater evaporation experiment is easy and quick to set up, making it a great STEAM activity to do with kids
Activity Prep
(What we used)
1 tbsp Salt and 1/4 cup of Water (Mix until the salt completely dissolves)
Aluminum baking tray (You can use any tray that can get wet with salty water, but avoid white trays. It's hard to see the salt on them)
(Optional) Gravels
How We Did
1. Mix salt and water in a cup until the salt dissolves completely.
2. Pour some of the saltwater mixture into the aluminum baking pan. (Optional: We added some gravel to make it look like the shore.)
3. Place the pan in a warm, dry area. We put ours by the heating vent to speed up the evaporation.
4. Just one day later, some saltwater had evaporated, but it was still not fully dry yet. We left them for a few more days.
A few more days after…
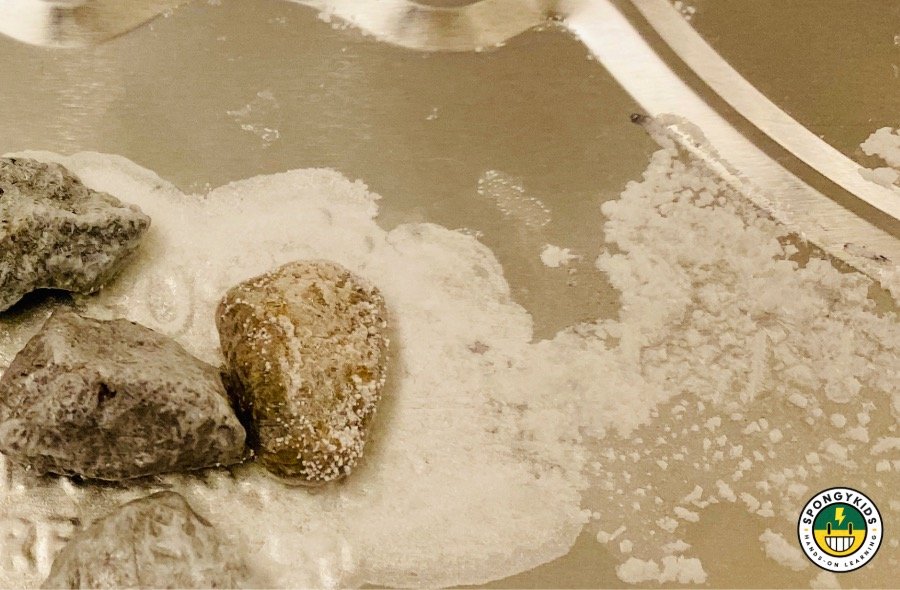
5. The saltwater has completely evaporated, and you can see some salt crystals! In the close-up photo, some salt crystals look almost square!
We had a great time learning how to separate salt from water! It was such a fun surprise for my son to see that some of the salt looked like little crystals!


